
YOU Can Make Pop-Up Cards:
5 Tips for Frustration-Free Paper Crafting
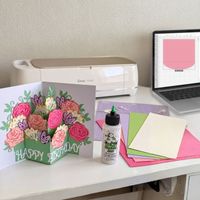
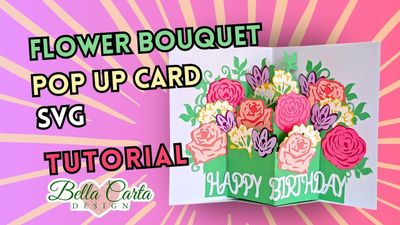
Hi friend! I'm Laura Shirley, founder and designer behind Bella Carta Design. If you have ever wanted to surprise your friends and loved ones with a captivating DIY pop up card, you are in the exact right place! Whether you're making a heartfelt pop up birthday card DIY project for a grandchild or exploring new Cricut paper crafts, I am here to guide you every step of the way.
I truly believe that if you have a desire to create, you already have everything you need to be a successful crafter. Let's walk through five simple tricks to take the guesswork out of interactive cardmaking so you can make magic with paper!
1. Start with a Quality 3D SVG Template
Laura's Machine Tip: Standard SVG files work wonderfully with Cricut and most digital cutters. If you craft with a Silhouette Cameo, note that the basic Silhouette Studio software only accepts Studio3 and DXF files. Upgrading to Designer or Business Edition allows you to use any standard Silhouette SVG seamlessly!
When embarking on interactive Cricut projects or paper engineering, your digital template is your foundation. Many free files on the internet haven't been thoroughly tested, lack clear instructions, and can end up wasting your precious cardstock.
Starting with a tested, high-quality 3D SVG cutting file from a trusted designer makes all the difference. Using a well-engineered pop up card SVG or reliable pop up cards templates gives you total confidence that your card will pop up smoothly without tearing. Always check that the template fits your machine's mat size, as interactive designs usually require an 8.5 x 11 inch or 12 x 12 inch cutting mat.
2. Choose the Right Paper
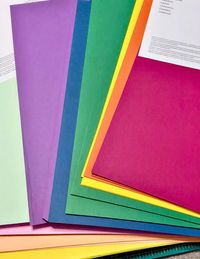
Another important factor to consider when creating pop-up cards is selecting the right paper. Just like choosing the right template, the paper you use will greatly impact the final result of your card.
First and foremost, you'll want to choose a sturdy paper that can hold the weight of the pop-up elements without tearing or collapsing. Look for cardstock or heavyweight paper options that provide durability and stability. I used 80-pound textured cardstock for the pop-up structure. I use 80 pound cardstock to give it strength and I use 65 pound cardstock for the card decorations, so they don’t add as much bulk to the overall card. This will ensure that your pop-up cards not only look impressive but also have a long-lasting quality.
In addition to strength, the quality of cardstock is important. Some cardstock is made specifically for making intricate cuts on cutting machines. I prefer to use 80-pound textured cardstock for my card bases and pop-up structures. I really like the American Crafts Precision Textured Cardstock* to give it strength. They offer it in packs of 60 sheets, in a large variety of colors.
3. Master Pop-Up Folds
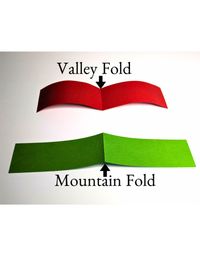
Understanding paper folds brings 3D interactive designs to life. Every pop-up structure relies on two fundamental fold types:
Valley Folds:
Creases that fold backward, away from you, resembling a valley.
Mountain Folds:
Creases that fold forward, toward you, looking like a mountain peak.
To achieve crisp folds, always score your paper first using a Cricut Scoring Stylus, Scoring Wheel, or a manual bone folder.
Pro Tip for Flexible Folds: I always gently fold each scored line backward and forward a few times. Quality cardstock is strong, and flexing the fold gives the pop-up structure the freedom to move effortlessly when opening and closing!
4. Find the Ideal Glue for Pop-Ups
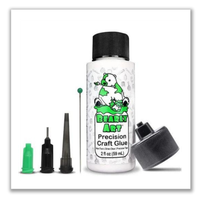
Selecting the right adhesive keeps your 3D creation sturdy without warping the paper. Look for an acid-free glue that dries clear and stays flexible:
Bearly Art Precision Craft Glue:
My top favorite because it dries clear with a matte finish, preventing dark, glossy stains on paper.
Uhu All Purpose Adhesive:
A strong, solvent-based glue in a yellow tube that won't cause cardstock to bubble or curl.
Be sure to avoid gluing anything directly across fold lines (especially Valley Folds). I always leave a tiny smidgen of space near fold lines so all the interactive elements move freely!
Another important thing to consider for gluing pop-up structures is to
fully glue all the identified glue-tabs. Make sure your glue goes right up to each fold line of the tabs
and hold the two glued pieces together for a few minutes to make sure the glue sets and makes a secure bond.
Laura's Craft Room Hack: Use mini clamps (even dollar-store ones!) to hold glued pop-up joints in place for a couple of minutes while they dry securely. Also, try taping a small plastic shopping bag to the edge of your craft table at tabletop level—you can sweep tiny paper scraps directly into it, keeping your space clean while ensuring you don't accidentally throw away small essential project pieces!
5. Add the Finishing Touches
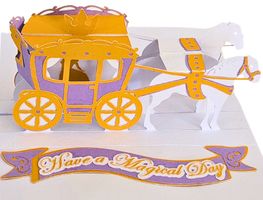
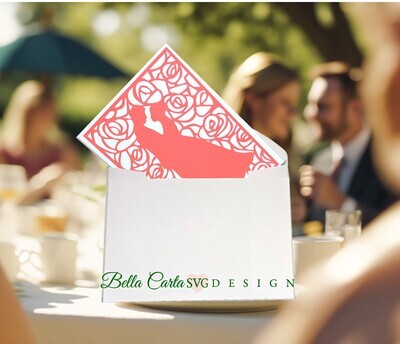
Finishing touches make your handmade gift feel truly extraordinary. Adding a custom, decorated envelope or small embellishments creates a breathtaking reveal for the recipient.
Just remember to avoid gluing decorations directly across fold lines (especially Valley Folds). I always leave a tiny smidgen of space near fold lines so all the interactive elements move freely!
So, now that you've mastered the art of pop-up cards, why not take your paper crafting skills to the next level? Explore the world of 3D projects for your Cricut or other cutting machine and unlock a whole new realm of creativity and possibilities. From stunning paper sculptures to captivating home decor, the only limit is your imagination.
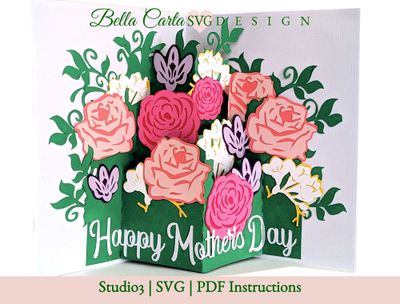
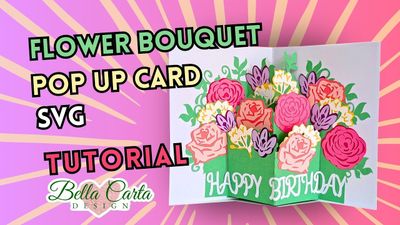
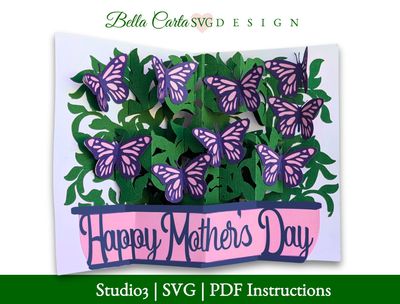
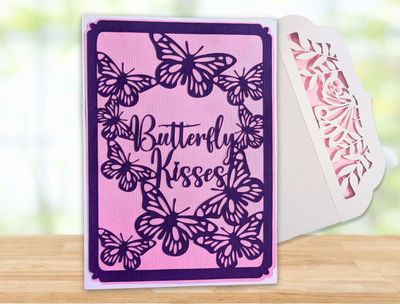
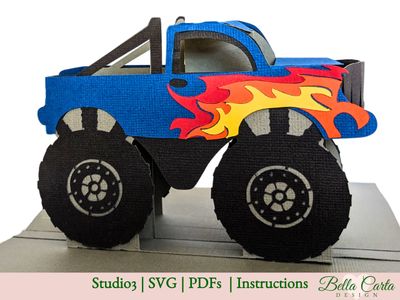
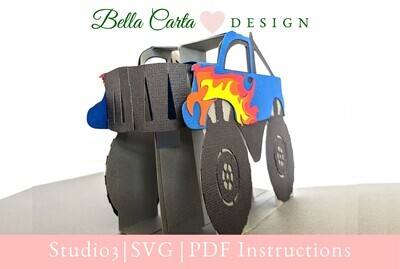
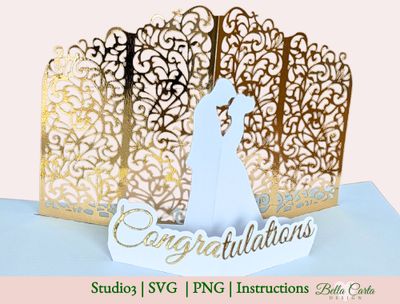
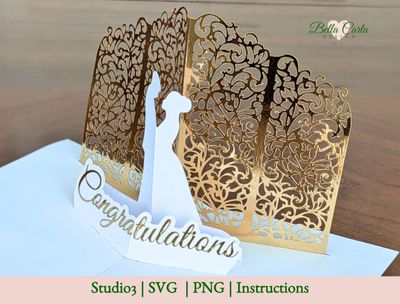
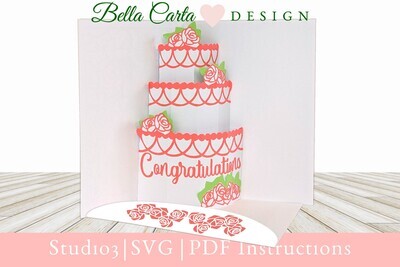
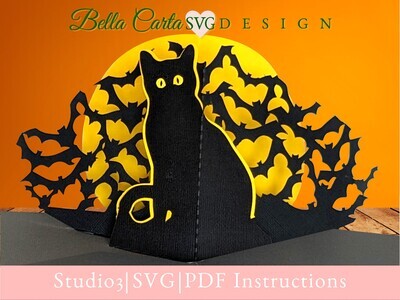
Explore Our Favorite Pop-Up Designs
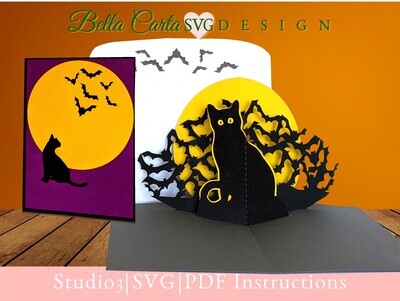
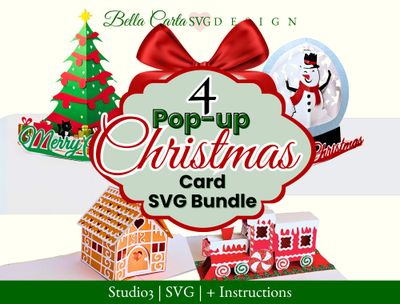
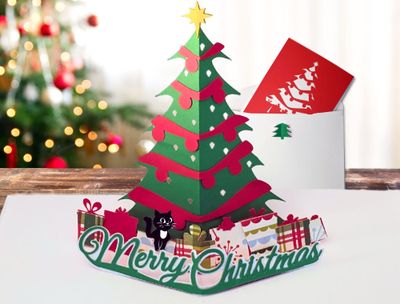
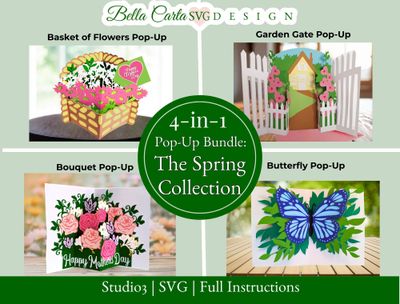
Ready to Start Your Pop-Up Adventure?
Let's make something amazing together!
I can’t wait to see the beautiful things you make!
Happy crafting!
Laura Shirley